


All 5 Clash Royale Chaos Mode Secret Badges
By the RoyaleTracker Team@RoyaleTrackerGGUpdated July 27, 2026
Five hidden badges are tied exclusively to Chaos Mode, and the game never tells you how to get any of them. Three can be unlocked right now, including the new The Path of a Single Ronin. The other two are not currently obtainable. Here is exactly how each one works.
The Path of a Single Ronin
C.H.A.O.S. League Road
Don't Lose
Go for the King
What Can I Say
How Chaos Mode Works
Before diving into the badges, it helps to know what makes Chaos Mode different. Cards in your deck can receive special modifiers mid-match: stat boosts, behavior changes, or entirely new abilities that wouldn't exist in standard play. At set intervals during the battle, you're shown two cards from your hand. Each has a unique upgrade attached. You pick one and that modifier sticks for the rest of the game.
Modifiers per match
Up to 5 picks
Pick structure
2 cards offered, you choose 1
Effect duration
Lasts the entire match
Secret badges
5 total, 3 obtainable
You can set these up with a second player
The Path of a Single Ronin, Go for the King and What Can I Say can all be done in a normal match or through the Quickplay button against someone who is not on your in-game friends list. Clanmates do count, so a clanmate you are not friended with works. This is by far the fastest route, because a cooperative opponent can feed you exactly what the badge needs instead of you waiting for it to happen by chance. Don't Lose is the exception we cannot confirm, so treat that one as a genuine three-win streak.
The Path of a Single Ronin
Ronin kills a PEKKA, then lands the final hit on the King Tower in a 3-crown win
The newest Chaos badge, added with C.H.A.O.S. Season 2. Everything has to happen in a single match: your Ronin kills a PEKKA, and then your Ronin personally destroys the enemy King Tower in a three-crown victory. This one is very doable if you set it up deliberately.
How to unlock
1
Run Ronin. He is the only card that can complete this badge, so he is non-negotiable in your deck.
2
Get your Ronin a kill on a PEKKA. Community reports differ on whether the PEKKA kill is strictly required, and some players report Mega Knight working too, so do the PEKKA kill anyway. It costs you nothing and removes the doubt.
3
Take both Princess Towers first. You need a full three-crown victory, so clear the sides before you touch the King Tower.
4
Land the last hit with Ronin himself. This is where most attempts fail. If a spell, a support troop, or a reflected attack lands the killing blow on the King Tower, the badge does not unlock. Hold your spells once the King is low.
5
Set it up in Quickplay against someone who is not on your in-game friends list. That gives you a cooperative opponent who can feed you a PEKKA and then let the King Tower fall to Ronin.
Recommended Cards

Ronin

P.E.K.K.A
These two cards are the badge requirement, not a full deck. Ronin has to be yours; a PEKKA has to die to him. Fill the other six slots with whatever keeps you alive long enough to three-crown.
💡
Pro tip: The failure case is almost always the final hit. Once the King Tower is nearly down, stop casting spells entirely and let Ronin walk in and finish it himself.
C.H.A.O.S. League Road
Complete the C.H.A.O.S. league road
A badge tied to finishing the C.H.A.O.S. league road. The league road is not currently running, so nobody can complete this one at the moment. It is listed here so you know it exists and is not something you have missed.
🔒
Not obtainable right now: This badge is not currently obtainable. The C.H.A.O.S. league road it is tied to is not live, so there is no way to complete it right now. We have not been able to confirm its exact in-game name yet, so it is listed here by what it unlocks from.
How to unlock
1
There is nothing to grind right now. The league road this badge depends on is not active.
2
When a C.H.A.O.S. league road does run, work through it to the end. That is the whole requirement, so there is no hidden trick to it.
3
Check back when Chaos changes state. Badges tied to seasonal progression tend to reappear when the mode rotates.
💡
Pro tip: Do not waste time hunting for this one right now. If you are trying to complete your Chaos badge collection today, the three obtainable badges are The Path of a Single Ronin, Don't Lose and Go for the King.
Don't Lose
Win 3 Chaos Mode matches in a row
String together three consecutive victories in Chaos Mode without dropping a single match in between. It sounds straightforward, but the randomness of modifier assignments means you need a deck that performs under any conditions.
How to unlock
1
Deck choice matters more than anything else here. Pick something consistent that has solid answers to a wide variety of opponents, not a one-trick-pony build.
2
Lean into win conditions that stay dangerous regardless of which modifiers show up. Cards that apply pressure across both lanes force opponents to split their attention.
3
At each modifier selection, pick the card that synergizes with your current game plan. Stacking upgrades on your primary threat snowballs faster than spreading buffs across different cards.
4
If you build a lead, shift gears and play reactively. Let your opponent overcommit, then punish with a clean counter-push.
5
Streaks break because of greedy plays in close games. When you're ahead on towers or elixir, grinding out the clock is a completely valid strategy.
💡
Pro tip: The simplest path to three wins in a row is a proven high-win-rate deck. Check the live rankings below. The decks at the top are there because they win consistently, not because they got lucky.
Highest win-rate decks
Find the best decks to use for this badge
Live-ranked by win rate, usage, and battles from the last 7 days

→
Go for the King
Destroy the King Tower before any Arena Tower
Take down the King Tower first, without touching either Arena Tower. It sounds nearly impossible in normal play, but Chaos Mode modifiers can create windows that simply don't exist elsewhere.
How to unlock
1
Completely ignore the Princess Towers for the entire match. Every troop, every spell, every push goes down the center lane at the King Tower only. A single stray hit on an Arena Tower ends the attempt.
2
The cleanest setup is P.E.K.K.A. plus an epic modifier that lets you deploy her anywhere. That combination drops a huge threat directly onto the King Tower without walking her past the Princess Towers first.
3
Pair that with Goblin Barrel, which lands straight on the target you choose. Goblin Barrel is especially strong here once it picks up an epic modifier.
4
Fill the rest of your deck with spells and non-spawning buildings. Anything that generates units on its own is a liability, because those units will wander into a Princess Tower and ruin the run.
5
Expect to requeue. You want an opponent who overextends, disconnects or simply does not defend the center, combined with a modifier draw that gives you a deploy-anywhere effect. It will not happen every game.
💡
Pro tip: The specific cards in the Chaos pool change between phases, so build to the roles rather than to a fixed list: one deploy-anywhere threat, one targeted attack card, and everything else spells or non-spawning buildings.
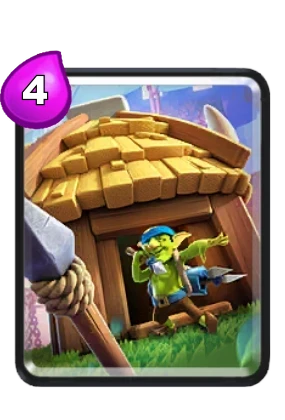
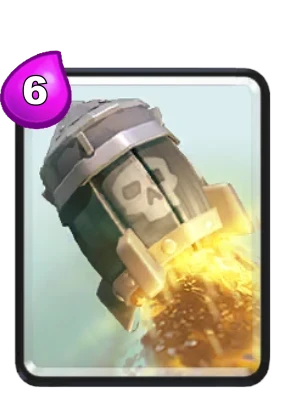
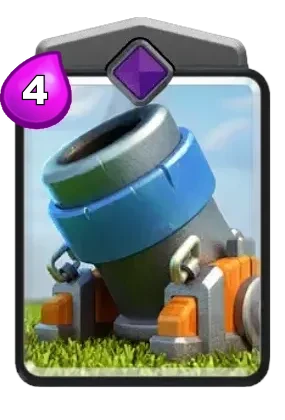
What Can I Say
Get 4 specific modifiers in a single match
You get 5 modifier picks per match and you need 4 specific ones to show up among them: Goblin Party Hut, Goblin Party Rocket, Barbarian Launcher on Mortar, and the epic Wizard trio. The game picks randomly from your deck, so all you can do is set up the right cards and hope the draws align. Took over 150 games across 2 days to get this one when it was available.
🔒
Not obtainable right now: This badge is not currently obtainable. It needs four specific modifiers, and those modifiers are not all in the current Chaos rotation, so the required combination cannot come up. The method below is kept for reference and for whenever they return.
How to unlock
1
Build your deck around the 4 required cards: Wizard, Goblin Hut, Rocket, and Mortar. These are the cards that need to receive their specific modifiers. Fill the remaining 4 slots with defensive cards to keep yourself alive long enough for the picks.
2
You do NOT need to win the match. Your only goal is to survive long enough to receive all 5 modifier prompts and secure the 4 required ones.
3
When a modifier prompt appears, always take the required modifier if it shows up, regardless of whether it seems good in context. The badge triggers only when all 4 are collected.
4
Drag the game out. Play passively, defend everything, let double elixir hit. The longer the match, the more picks you see.
5
This is pure luck. The four modifiers need to appear across your 5 picks and that simply does not happen most games. Queue, grind, and accept that it will take time.
Recommended Cards

Wizard
Goblin Hut
Rocket
Mortar
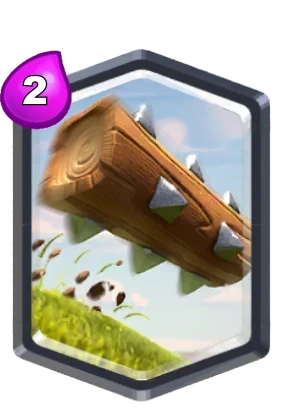
The Log
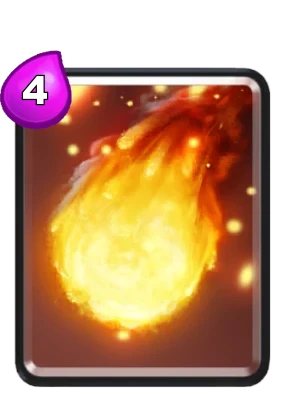
Fireball
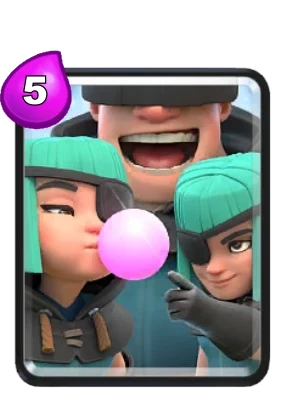
Rascals
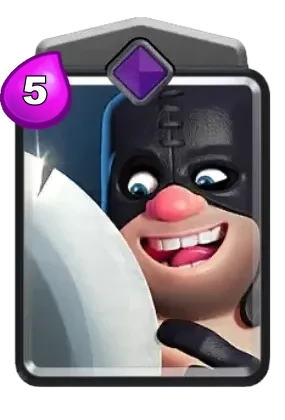
Executioner
Must-have modifiers

Wizard
Epic Wizard Trio

Goblin Hut
Goblin Party Hut

Rocket
Goblin Party Rocket

Mortar
Barbarian Launcher
💡
Pro tip: Took 2 days and 150+ games. Do not get discouraged. Keep your deck consistent, play slow every single match, and eventually the draws will line up.
Now that you know the objectives, time to run it.
View Chaos Mode Top Decks